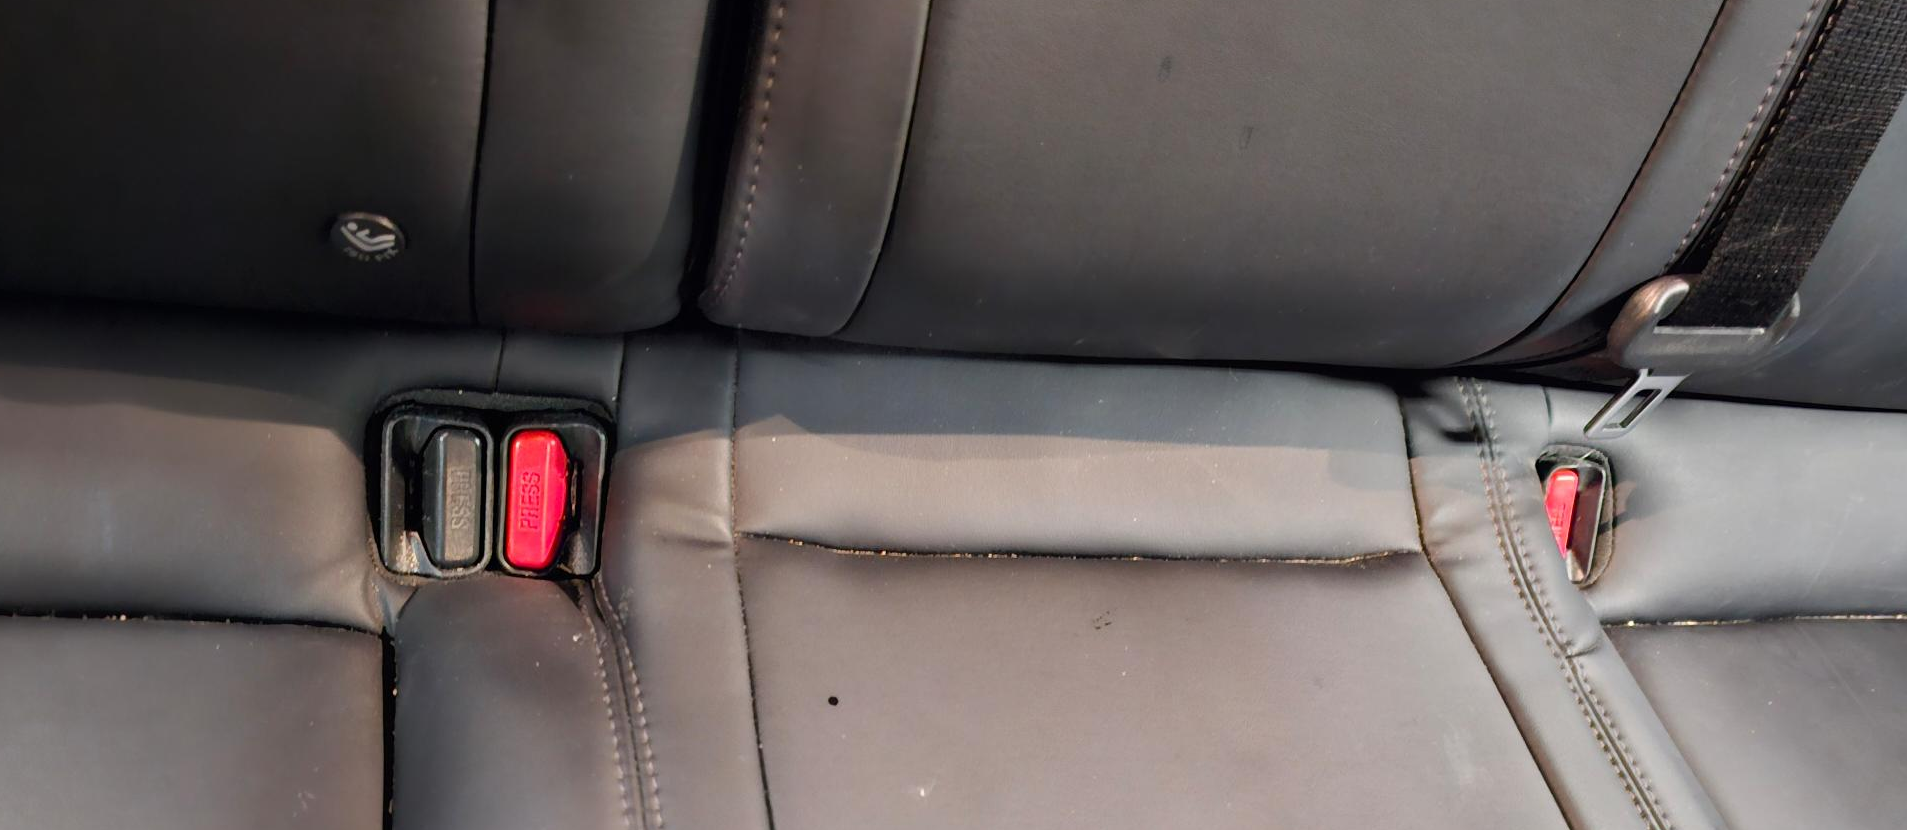
If you were to look in the back seat of this Tesla car, you would see that there are three seat belt buckles, and one of them is a different color than the other two. Why is this?
As usual, there is a long story about this.
In all the years that I have owned this Tesla car, I have only rarely had a passenger in the rear seat. Occasionally I would have a passenger in the right rear seat (which is to the left in the photograph above). And what would happen is the passenger, when getting buckled in, would not be able to get the seat belt tongue to fit into the buckle on the first try. Later, as I would drive the car around, I would see a warning on the dashboard telling me that someone in the back seat did was not wearing his or her seat belt. But I could see with my own eyes that the passenger was wearing his or her seat belt.
Eventually I sort of caught on that the hapless passenger had been forced to use the buckle for the middle seat. And of course there is a monitoring system that uses a pressure sensor in the seat, and a sensor inside the buckle, and it tattles on the passenger who has failed to wear his or her seat belt. The system noticed that someone was sitting in the right rear seat, and also noticed that there was no tongue inserted into the right rear buckle.
Yes, the right rear buckle was defective. I am pretty sure it came from the factory that way.
Had I gotten a clue about this earlier, I could have simply gotten this repaired under the car’s warranty. But several years having passed before I got a clue, the buckle was out of warranty.
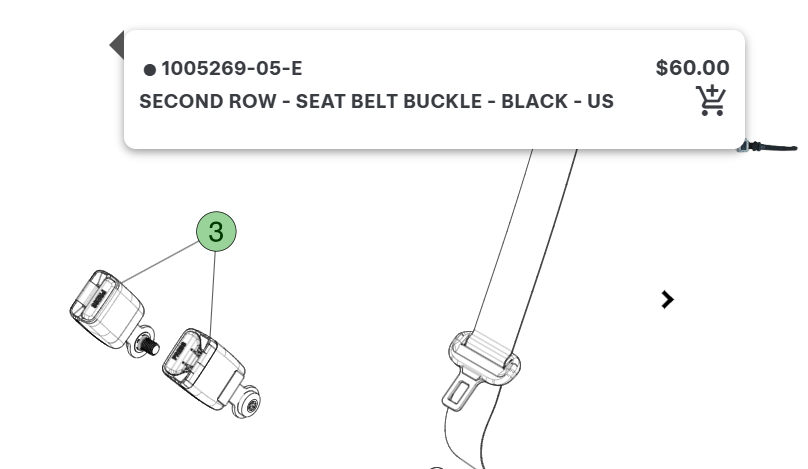
I could have taken the car to a Tesla service center to get the buckle replaced, which would have cost a lot of money. (Update: just now I received an estimate from the Tesla service center for this work. I am astonished that it was actually reasonable in price. The buckle costs $60, which I already knew. And the labor cost would be a mere $58.80. The estimate thinks the task would take a mere 14 minutes and 24 seconds to carry out this task.) I decided to try to fix it myself. The Tesla service manual and parts manuals are online, so I clicked around in the manuals. The parts manual is very handy — you key in the VIN of the car and it finds the exact replacement parts for that particular car. Which I did, and as you can see above, the part I needed is a 1005269-05-E buckle. Which I ordered.
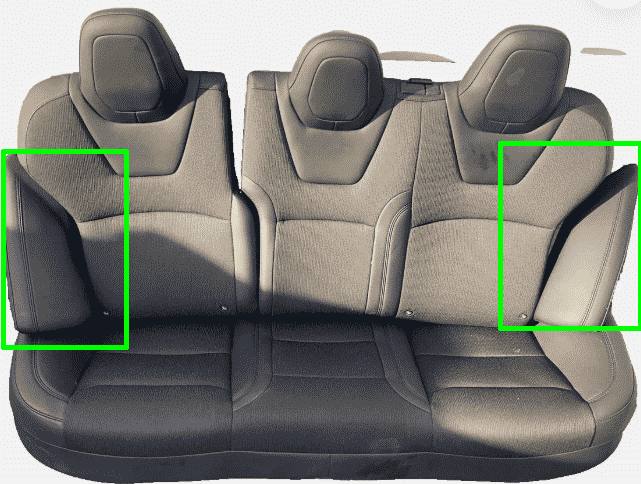
While waiting for the replacement buckle to arrive, I clicked around in the service manual to see how do the replacement. A first step is to remove the two bolsters shown at right. Oddly, the online service manual for this Tesla car only provides a procedure for removal and replacement of the left-hand bolster. I guess they assume the reader will be able to work out how to remove and replace the right-hand bolster having learned how to remove and replace the left-hand bolster.
I guess everybody who does car trim and upholstery work already knows all about this stuff, but what I have come to learn only in recent years is that this stuff is not easy.
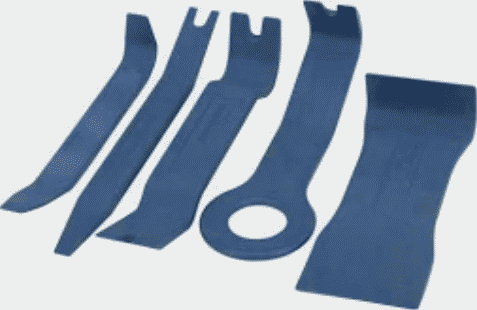
Any particular disassembly or reassembly step in any part of a car’s trim or upholstery turns out to require a very odd combination of brute force and surprising gentleness. And it turns out to require “trim tools”, which are made of plastic and are shaped like a variety of shoehorns and wedges. The idea of the upholstery tools is that, if you are lucky, you might be able to use the tool to pry some piece of trim or upholstery loose without damaging it. It turns out that this buckle replacement process did not actually require the use of any of my trim tools. Everything about the removal and replacement of upholstery was done purely by hand.
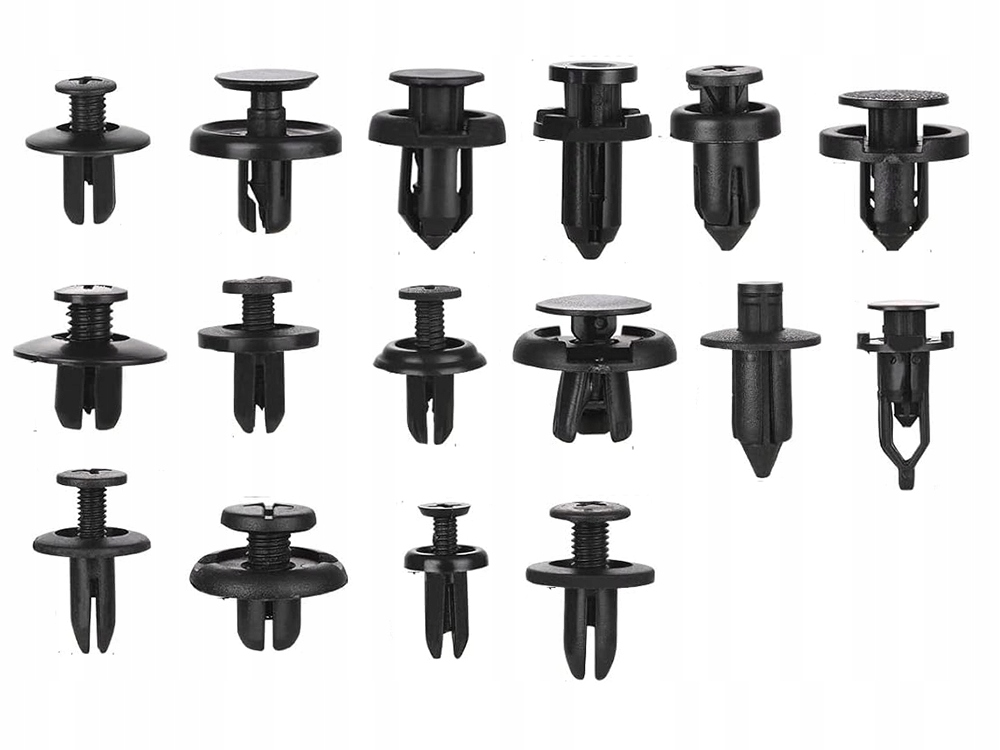
So anyway, it turns out that in the world of car trim and upholstery, nothing is ever held together with screws or nuts or bolts. The way that anything is attached to anything else is by means of “trim clips”. Trim clips are (in my view) evil little things, nearly always made of plastic, and no matter how many different shapes and sizes of trim clips you have, it will always turn out that the one you need for some particular part of the car has a different shape and size than the many shapes and sizes of trim clips you already have. (Dante, when writing his Inferno, ought to have set aside a special dedicated circle of Hell to be inhabited by the people who design car trim clips, and who seem to take joy in designing yet another hard-to-find trim clip for yet another piece of trim or upholstery in some make and model and year of car.)
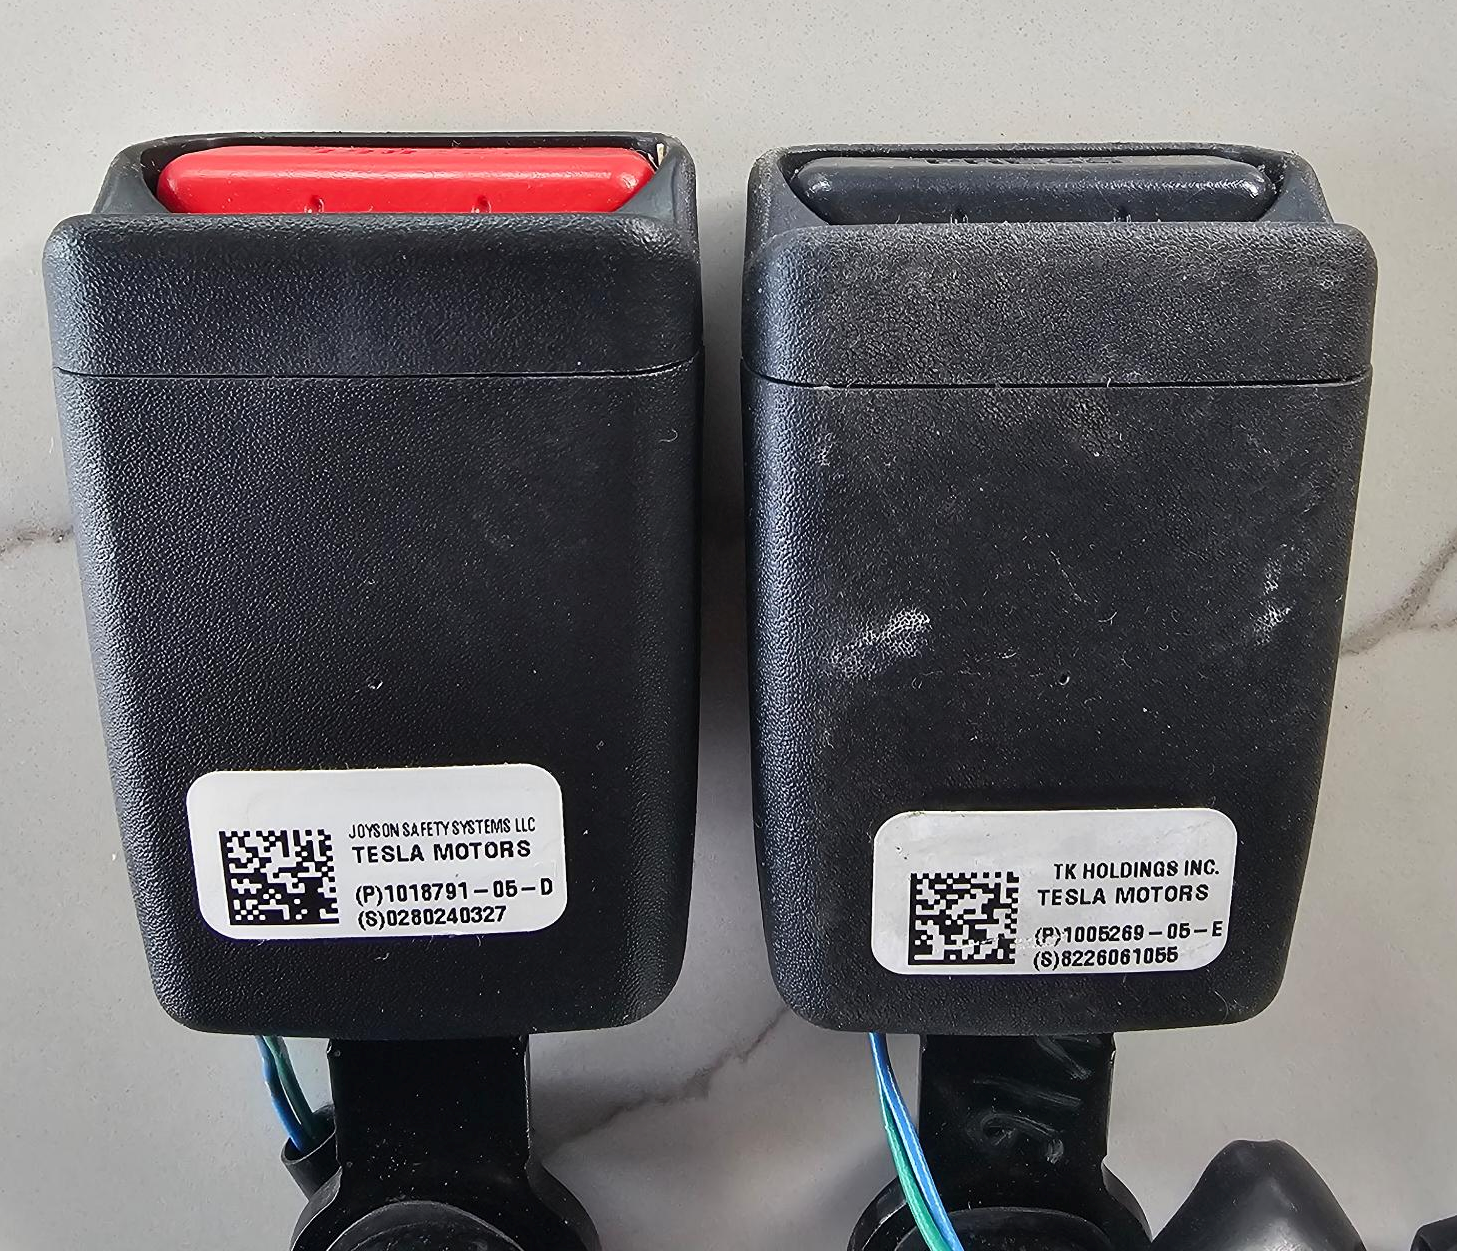
The replacement buckle arrived. It was the wrong color! What I eventually saw is that when my car was manufactured, the Tesla company used part number 1018791-05-D. That part is, I suspect, mechanically and electrically identical to the 1005269-05-E part, but the release button is a different color (red instead of black). I suppose that in the Fremont factory, they ran out of the correct-color buckles and, for a few thousand cars, including mine, they substituted buckles of the other color.
But I digress. Once you get the two bolsters removed from the car, the next step is to remove the seat cushion. To do this (and I am not making this up) you sit on the left passenger seat and reach down between your legs and lift up, using every bit of upper body strength that you have, at a particular place. A first sort of loud “click” happens. You slide over to the right-hand side of the seat and repeat the process. A second loud “click” happens. Now you get out of the car and wrangle the car seat out of the car.
Except not so fast. There are seven electrical cables that connect the seat cushion to the car itself. Each of the three seating positions has a sort of weight sensor, which is part of the tattle-tale system for warning that a passenger has failed to buckle his or her seat belt. Each of the three seating positions has a heating element for a seat warmer. What I don’t know is how this could possibly add up to seven cables, but there you are. And, of course, each cable has a connector that was snapped together in the factory and that is now impossible to snap apart. One must use a small pry tool to try to release the latch that keeps the two parts of the connector together, while not damaging the connector so badly that it won’t work again. I disconnected the seven cables. This permitted me to remove the seat cushion from the car.
Having removed the bolsters and seat cushion, it is time to remove and replace the defective seat buckle. Again there is an oddity in the service manual. A procedure is provided for replacing the left rear buckle. A procedure is provided for replacing the middle rear buckle. But no procedure is provided for replacing the right rear buckle.
One realizes the only choice is to try to adapt the left-side procedure for the right side of the car.
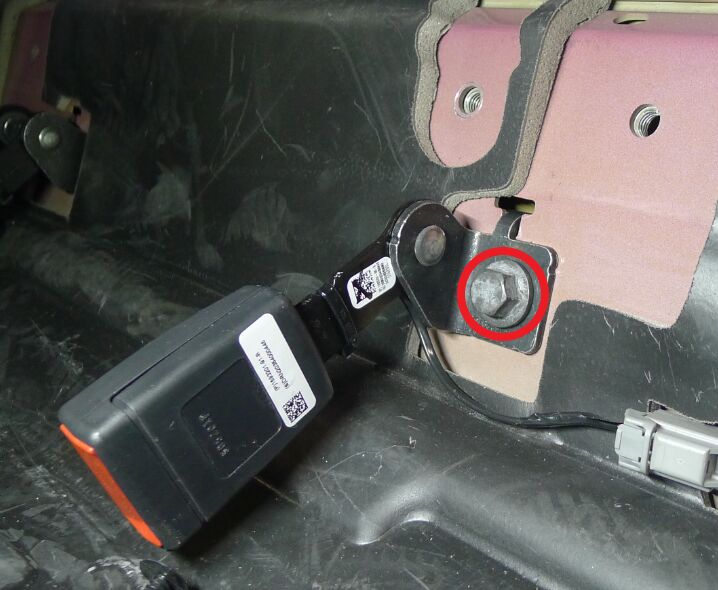
In the photo above, quoted from the service manual, you can see an electrical cable and its connector, which is part of the sensor system for sensing whether a passenger has buckled his or her seat belt. The service manual helpfully suggests that you use a 15-mm socket, as shown at right, to loosen and remove a hex screw, circled in red in the photo from the service manual.
Except not. The actual screw provided with the actual seat belt buckle is a T50 torx screw. The service manual did not tell the truth. So I had to rush to an auto parts store to buy an expensive set of really big torx bits that included the T50 bit.
I unscrewed the torx screw on the defective buckle, disconnected the electrical cable, and removed the defective buckle. I screwed the replacement buckle into place and connected its electrical cable. I then positioned the seat cushion nearly into place, and reconnected its seven electrical connectors. I then coaxed the three seat belt buckles to peek out through the corresponding openings in the seat cushion, and wrangled the seat cushion almost all of the way back into place. Throwing all of my body weight at the cushion at the two “click” locations, I managed to get two more “clicks” as the cushion settled into place.
Next I wrestled with the two bolsters to get each of them snapped back into place.
What remained was to have a helper sit in each of the three seating positions while I watched the seat belt warnings at the dashboard. We checked that buckling the seat belt made the warning go away. We then tried out the seat heaters for each of the three seats. All was good.
So now the right rear seat belt buckle works as normal. But as you can see in the photo at right, the color of the right rear buckle does not match the color of the other two buckles. I have decided that I do not care that it does not match.
Update and review of the overall situation. As mentioned above, just now I heard back from the Tesla service center with the cost estimate. I think I ended up spending about 90 minutes on the remove-and-replace, not including the time for the trip to the auto parts store to purchase the set of a dozen big torx bits. I am in awe of the service tech who would have been able to do this task in under 15 minutes.)